In today’s world, home security is more important than ever. Whether you’re looking to protect yourself from intruders, medical emergencies, or any other potential threat, a panic button can provide an extra layer of safety. Installing a panic button in your home gives you immediate access to emergency services, ensuring help is just a click away. In this step-by-step guide, we’ll walk you through how to install a panic button at home, the benefits of doing so, and the key factors you should consider.
Why You Should Install a Panic Button in Your Home
Security systems have evolved, and panic buttons are becoming an essential part of modern home safety solutions. Here are a few reasons why:
- Immediate Response in Emergencies: A panic button ensures that you can call for help quickly. Whether it’s a break-in, fire, or medical emergency, pressing the button alerts authorities right away.
- Peace of Mind: Knowing that emergency help is only a click away can make you feel safer in your home.
- Easy to Use: Panic buttons are straightforward to operate, requiring only a single press to send a distress signal.
- Increased Home Value: A home equipped with comprehensive security features, including a panic button, can have a higher market value.
With these benefits in mind, let’s move on to the practical steps of installing a panic button in your home.
Step 1: Choose the Right Panic Button for Your Home
The first step in the installation process is selecting the right panic button that fits your needs. There are various types available, each offering different features:
- Wired Panic Buttons: These are connected to your existing security system and offer reliable connectivity. However, installation may require professional help if you’re unfamiliar with electrical wiring.
- Wireless Panic Buttons: These are more convenient to install and can be easily placed around your home. They operate via a battery and communicate with your security system wirelessly.
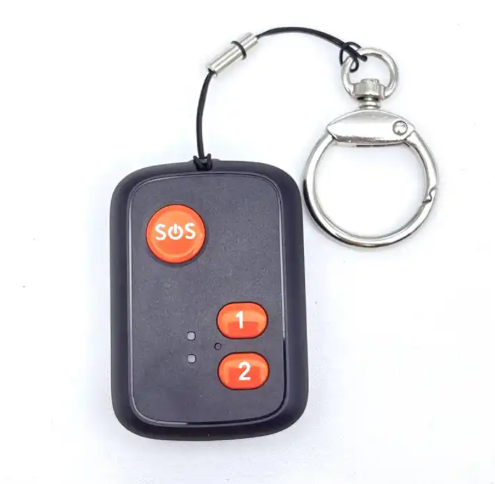
- Wearable Panic Buttons: These are designed to be portable and can be worn on the wrist or around the neck. They are ideal for individuals who may need to call for help while moving around the home.
Step 2: Identify the Best Locations for Installation
The location of your panic button is crucial for its effectiveness. You’ll want to place it in areas where it’s easily accessible during an emergency. Consider installing buttons in the following spots:
- Bedrooms: Install a panic button in each bedroom, especially for elderly family members or children, who may need to alert someone quickly in case of danger.
- Living Room: This is often the central hub of the home where people spend the most time, making it a practical place to install a panic button.
- Near Entrances: Placing a panic button near the front or back door allows you to call for help if an intruder tries to break in.
- Bathrooms: Bathrooms can be hazardous, especially for older individuals. Having a panic button here could be a lifesaver in the event of a fall or other medical emergency.
- Kitchen: In case of a fire or accident, having quick access to a panic button can help you get emergency services on the scene without delay.
Step 3: Install the Panic Button
Now that you’ve selected your locations, it’s time to install the panic button.
For Wired Panic Buttons:
- Turn off the power to avoid any electrical hazards.
- Run the wiring from the panic button to your central security system. Depending on the model, you may need to follow specific instructions for wiring and voltage.
- Mount the panic button on the wall or in the designated location. Ensure it’s securely attached and easily accessible.
- Test the system once installed. Ensure that pressing the panic button sends the appropriate signals to your security system.
For Wireless Panic Buttons:
- Install the batteries as per the manufacturer’s instructions.
- Pair the panic button with your security system. Most wireless models come with instructions to help you connect it with ease.
- Mount the panic button in your chosen location. Use adhesive strips or screws, depending on the surface you’re working with.
- Test the button to ensure it communicates properly with your home security system.
Step 4: Integrate with Your Existing Security System
For the panic button to be effective, it must be integrated with your home’s security system. Many modern systems allow for seamless integration, but you may need to configure settings to ensure the button communicates with alarms, cameras, and emergency services.
- Check System Compatibility: Make sure your panic button is compatible with your existing home security system. Some systems come with dedicated apps, which allow you to monitor the status of your panic button remotely.
- Connect to Monitoring Services: If you have a professional monitoring service, ensure they are aware of your panic button installation. Some systems allow you to assign specific actions to the panic button, such as calling the police, fire department, or medical services.
Step 5: Train Your Household
After the panic button installation, it’s essential to educate everyone in your household about how to use it. This is particularly important for elderly individuals, children, and anyone who may need to access the button in an emergency. Go over the following points:
- When to Use the Button: Make sure everyone knows the situations in which they should press the button, such as intruders, fires, or medical issues.
- How to Press the Button: Demonstrate how to press the button firmly and how it works with your security system.
- What Happens After Pressing the Button: Explain that the panic button will trigger an immediate alert to emergency services or sound an alarm depending on your system’s configuration.
Maintenance and Upkeep
To ensure the panic button works when you need it most, regular maintenance is essential.
- Test the Button: Test your panic button monthly to ensure it’s functioning properly. For wireless models, check the battery levels and replace them as needed.
- Keep It Accessible: Make sure nothing obstructs access to your panic button. It should always be easy to reach and visible.
- Upgrade as Necessary: Technology changes rapidly, and it’s a good idea to upgrade your security system and panic button as newer, more efficient models become available.
Conclusion
Installing a panic button in your home is a practical and effective way to enhance your home security system. With proper placement, installation, and maintenance, it can provide you with peace of mind and immediate access to help when needed. Whether you choose a wired or wireless model, make sure to integrate it seamlessly with your existing security system and educate everyone in your household about its use.
By following this step-by-step guide, you’ll be well on your way to making your home safer and more secure.