Dual Band Wavlink AC1200 Extender Configuration
Wavlink AC1200 WiFi range extender is also called the other name of dual-band WiFi range extender. You can quickly extend the range of the existing router WiFi signal, with the help of this device. To know all the information about the Wavlink AC1200 extender device, read this full page.
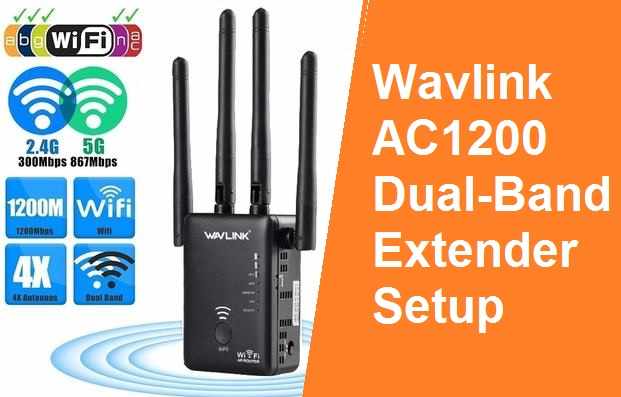
Wavlink AC1200 Extender Overview
WPS Button: With the help of the WiFi-protected setup button you can easily pair the existing router with an extender.
Reset Button: By pushing the reset button you can easily fix any kind of common issue.
AC1200 Extender LED status:
- The device is activated when a solid pink LED starts blinking.
- When the RED LED starts flashing fast, the internet is not connected.
- If the RED LED starts slowly flashing, the internet is connected but not accessible.
- The internet connection is poor when the stable red LED starts blinking.
- The connection is good when a stable blue LED starts blinking.
- WPS is trying to establish or make a connection with the host router, if fast blue LED flashing.
Navigate Wavlink AC1200 Extender Login Page
- First, settle the Wavlink AC1200 extender power plug in the working power socket.
- Now, take the computer or laptop and connect it to the Wavlink extender network.
- Next, open the web browser and enter wavlink.com in the location bar.
- After that, fill in all the login details shown on the web management page.
- If you don’t know the Wavlink extender login details then check the manual booklet.
By following the above steps the Wavlink extender login process is completely done now.
Wavlink AC1200 Extender Installation
There are three ways to do the Wavlink AC1200 Extender Configuration process.
By Pushing Wavlink AC1200 Extender WPS Button
Note: While doing the WPS method, your main router must have a WPS button.
- First, settle the Wavlink AC1200 extender power plug into the power socket.
- Now, press the WPS button of the AC1200 extender.
- After that, within 10 to 20 seconds press the existing router WPS button.
- Next, the solid WPS LED starts blinking.
- As it means, by pushing the WPS button extender and router successfully connected with each other.
AC1200 Extender Configuration By Web Browser
- First, open the navigation on your laptop or computer.
- After that, enter the default web portal or IP address in the address bar.
- Next, fill in all the details shown on the page such as username and security password.
- Further, you will directly visit the setup portal of the Wavlink AC1200 extender.
- In the end, follow or consider all the display descriptions carefully.
Installation Via AP Mode
- First, join one end of the ethernet cable to the extender ethernet port.
- After that connect the other end of the ethernet wire to the existing router ethernet port.
- Further, open the navigation on your computer and enter the 192.168.10.1 IP address in the URL bar.
- Next, tap on the access point mode and tap on next.
- Now, for the new AP mode, create SSID and security password.
- In the end, consider all the display instructions and do the Wavlink AC1200 setup
Resolve All Kind Of Extender Issues
- Verify the Wavlink AC1200 extender device LED status.
- Try to power cycle both the extender and router.
- Remove or kick off that extra Wi-Fi-containing gadget that links with your extender network.
- Identify the distance between the Wavlink AC1200 extender and router.
- See all the cable connections.
If still the extender issue is not resolved after trying out the many solutions. Then, consider the below-advanced solution tips.
Don’t Locate Near Metal Or Electronic
When you locate your extender and router gadget near the metal or electronic appliances then you can face connection issues. Metall or electronic gadgets absorb all the WiFi signal which comes from the extender and router device. We recommend you, if you want to resolve the connection issue then change the location of both the extender and router device. For Readers!
Upgrade Wavlink AC1200 Extender Software
- To improve the extender software, you will need to visit the Wavlink extender web management page.
- After that, search for an administration option and then tap on a software upgrade.
- Now, install the latest version of the software file on your laptop or on your computer.
- In the end, restart your extender device, to finish the software upgradation process.
Reset Wavlink AC1200 Extender
- At the back side of the Wavlink AC1200 extender device, you see the reset button.
- Now, push that button with the help of a hairpin for 8 to 10 seconds.
- After doing this, all the LEDs of the Wavlink AC1200 extender will turn off.
- Therefore, it means your extender device is now completely reset.
Note: After resetting the Wavlink AC1200 extender, do the login and setup process again.
Tip: If you are having the other model number of the Wavlink extender such as AC600 and you are searching for the login and setup information but are unable to get the right information. So you will just need to visit the Wavlink AC600 setup page and follow all the instructions.
As of now, after the study of this entire page, you will be able to do the Wavlink AC600 extender login and setup process by yourself without taking any technician expert’s help. But, if you require expert guidance then contact us immediately.